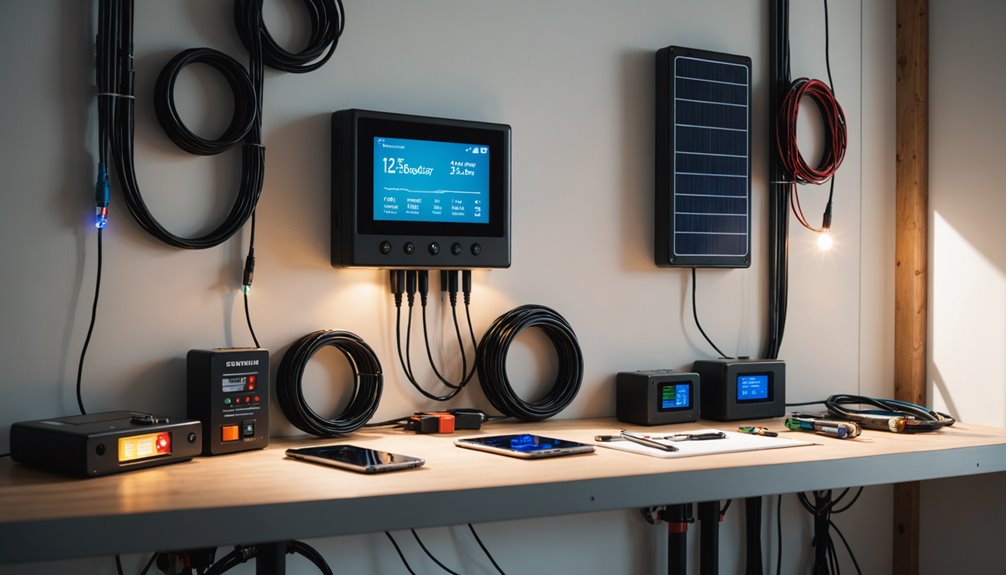
DIY inverter battery repair can reduce costs and turnaround time compared to professional servicing, but carries inherent risks that require careful consideration. Understanding the distinction between manageable repairs and those requiring professional intervention is essential before proceeding.
Common issues that can reasonably be addressed by an informed individual include terminal corrosion, electrolyte level adjustments in flooded lead-acid batteries, and basic connection inspections. These tasks, when performed with proper safety equipment and procedural knowledge, present a lower risk profile.
However, internal cell damage, significant capacity loss, and charging system faults often indicate deeper electrical or chemical problems. Attempting repairs in these areas without adequate technical knowledge can result in battery damage, electrical hazards, or exposure to corrosive materials.
A systematic diagnostic approach is the most reliable starting point. Measuring terminal voltage, checking electrolyte density where applicable, and inspecting physical connections can help identify whether the issue is surface-level or structural. This information then determines whether a DIY repair is appropriate or whether professional assessment is the more practical course of action.
The decision to repair an inverter battery independently should be based on a realistic evaluation of the problem’s complexity, the tools available, and the individual’s technical competence, rather than solely on the potential for cost savings.
Key Takeaways
DIY home inverter battery repair requires adherence to strict safety protocols. Before beginning any repair work, insulated gloves must be worn, the power supply must be disconnected, and residual voltage must be confirmed at zero using appropriate testing equipment.
Battery voltage measurement with a multimeter serves as a reliable diagnostic starting point. A battery operating within normal parameters will register between 12.6V and 12.8V. Readings outside this range indicate potential degradation or failure.
Terminal corrosion is a common and addressable issue. A wire brush can remove oxidation buildup effectively, and all connections should be examined and tightened to ensure proper conductivity. Neglecting corroded terminals can lead to reduced performance and premature battery failure.
Thermal management is a critical factor in inverter battery longevity. Dust accumulation on cooling fans restricts airflow and contributes to overheating. Regular cleaning of ventilation components and maintaining adequate airflow around the unit helps sustain normal operating temperatures.
Certain conditions indicate that professional intervention is necessary rather than continued DIY troubleshooting. These include situations where standard diagnostic steps produce no resolution, persistent audible alarms continue without identifiable cause, or error codes appear that fall outside the scope of the owner’s manual. In these cases, engaging a certified technician is the appropriate course of action, as further amateur intervention risks compounding the underlying problem or creating safety hazards.
Safety Precautions Before You Touch Your Inverter
Working on an inverter carries significant electrical risks, including shock and component damage. The following steps outline the necessary precautions before handling any part of the unit.
Wear insulated gloves and safety goggles prior to touching battery terminals or internal components. These items reduce the risk of electrical contact and protect against debris or chemical exposure from battery cells.
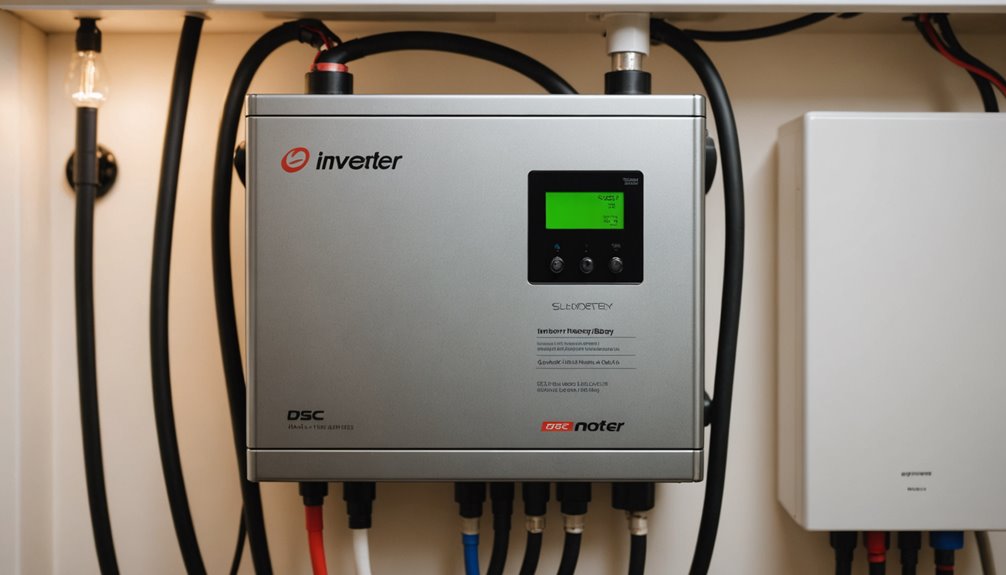
Disconnect the main power supply and power down the inverter completely. After doing so, use a multimeter to verify that residual voltage has reached zero. Inverters store charge in capacitors, which can retain dangerous voltage levels even after the unit is switched off. Confirming zero voltage before proceeding is a required step, not an optional one.
Reference the inverter’s user manual for model-specific safety guidelines and error code definitions. Manufacturers document known failure points and recommended procedures that are specific to each unit’s design and electrical architecture.
Avoid attempting repairs on internal PCB components without the appropriate technical background. Incorrect handling of circuit boards can cause irreversible damage to the unit and creates a measurable risk of serious electrical injury. Tasks that exceed your technical competence should be referred to a qualified technician.
Common Inverter Battery Problems and What Causes Them
Inverter batteries are subject to several recurring failure modes that can be identified through observable symptoms. Common problems include failure to charge, overheating, persistent audible alerts, and reduced backup duration.
A malfunctioning charger circuit can cause battery voltage to fall below the minimum threshold required for operation, resulting in a complete loss of backup power. Overheating typically occurs when ventilation is obstructed or cooling components such as fans are not functioning correctly, and this condition can accelerate battery degradation if left unaddressed. Continuous beeping generally indicates either an overload condition, where the connected load exceeds the inverter’s rated capacity, or an internal fault detected by the system. Reduced backup duration is often the result of battery aging, which leads to diminished capacity over time, or corroded terminals, which increase resistance and reduce the efficiency of charge and discharge cycles.
Recognizing these failure patterns at an early stage allows for timely intervention, which can prevent minor, addressable issues from progressing into complete system failure.
How to Diagnose and Repair Inverter Battery Issues at Home
Diagnosing inverter battery issues at home involves three fundamental checks: measuring battery voltage with a multimeter, inspecting terminals for corrosion, and confirming that all connections are properly secured. A fully charged deep-cycle battery typically registers between 12.6V and 12.8V under standard conditions. Readings outside this range may indicate undercharging, excessive discharge, or battery degradation.
If the inverter fails to charge the battery, the charger circuit should be examined for visible damage, including burned components or broken connections. Persistent beeping from the inverter generally corresponds to specific fault conditions such as low battery voltage or an overload state; the manufacturer’s manual provides the appropriate diagnostic codes for each alert pattern.
Overheating is commonly caused by restricted airflow. Dust accumulation around cooling fans and ventilation openings reduces heat dissipation efficiency and should be addressed through routine cleaning. Maintaining clean terminals and ensuring adequate ventilation around the unit are standard maintenance practices that contribute to consistent performance and reduce the likelihood of premature component failure.
How to Maintain Your Inverter Battery and Avoid Breakdowns
Inverter battery maintenance involves several straightforward practices that reduce the likelihood of system failures. Terminal corrosion is a common cause of poor electrical conductivity, and cleaning terminals periodically with a wire brush helps maintain consistent performance. Battery health should be assessed every few months using a multimeter to verify that charge retention remains within acceptable levels, as gradual capacity loss can go unnoticed without routine monitoring.
Operating conditions also affect longevity. Inverters function more reliably in cool, dry, and adequately ventilated environments, as excessive heat accelerates battery degradation. Managing the load placed on the system is equally important, since consistently drawing power beyond the inverter’s rated capacity strains both the unit and the batteries.
A structured maintenance schedule conducted every three to four months, covering terminal cleaning, voltage checks, and ventilation assessment, provides a reliable framework for early problem detection. Adhering to these practices reduces the frequency of unplanned failures and lowers the likelihood of requiring costly repairs.
Signs Your Inverter Battery Needs a Professional Repair
Recognizing when professional intervention is necessary can prevent minor issues from escalating into more significant and expensive damage. Continuous beeping from an inverter typically indicates low battery charge, system overload, or internal faults, all of which require proper diagnostic assessment. Inadequate power output while the unit remains operational generally points to underlying circuitry problems that are not suitable for untrained repair attempts.
Overheating is commonly associated with defective components or insufficient ventilation and should be addressed by a qualified technician rather than handled independently. Unfamiliar error codes on the display or a noticeable reduction in backup duration may reflect battery deterioration or circuit malfunctions requiring technical evaluation. If standard troubleshooting procedures have failed to resolve the issue, further independent attempts risk compounding the existing damage.
A certified technician possesses the tools and expertise to accurately diagnose faults and carry out repairs in a safe and effective manner.
Conclusion
Regular inverter battery maintenance involves a combination of safety protocols, systematic diagnostics, and routine upkeep procedures. Basic maintenance tasks, such as checking electrolyte levels, cleaning terminals, and monitoring charge cycles, can typically be performed by the homeowner. However, issues involving internal cell damage, significant capacity loss, or recurring faults generally require professional assessment and intervention.
Consistent maintenance schedules have been shown to extend battery lifespan and reduce the likelihood of unexpected power failures. Documentation of battery performance over time, including voltage readings and discharge rates, can help identify deterioration patterns before they develop into critical failures.
It is important to recognize the boundaries of DIY repair. While surface-level maintenance is manageable without specialized training, deeper electrical faults carry genuine safety risks, including exposure to corrosive materials and the potential for electrical hazards. Consulting a qualified technician in these cases is the recommended course of action.