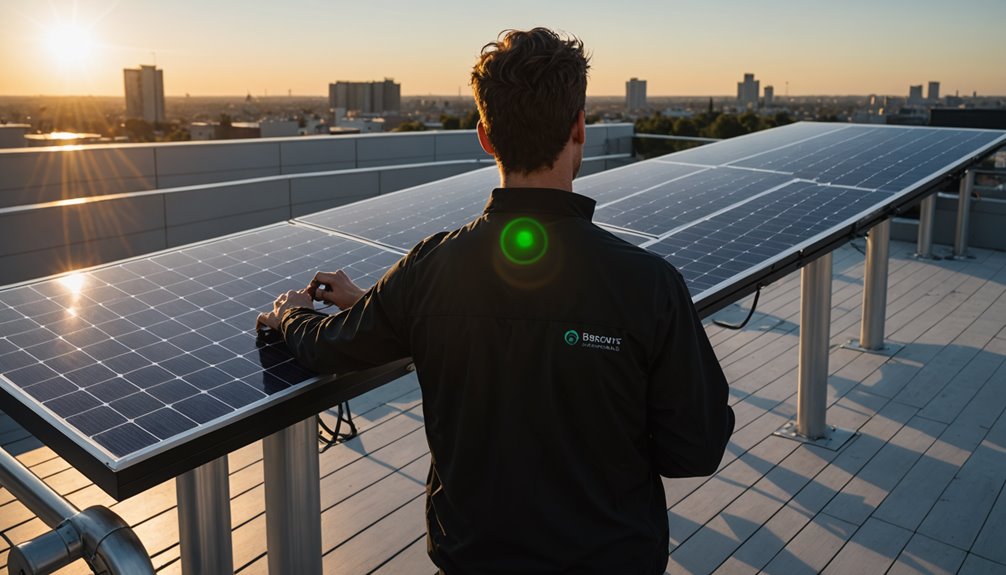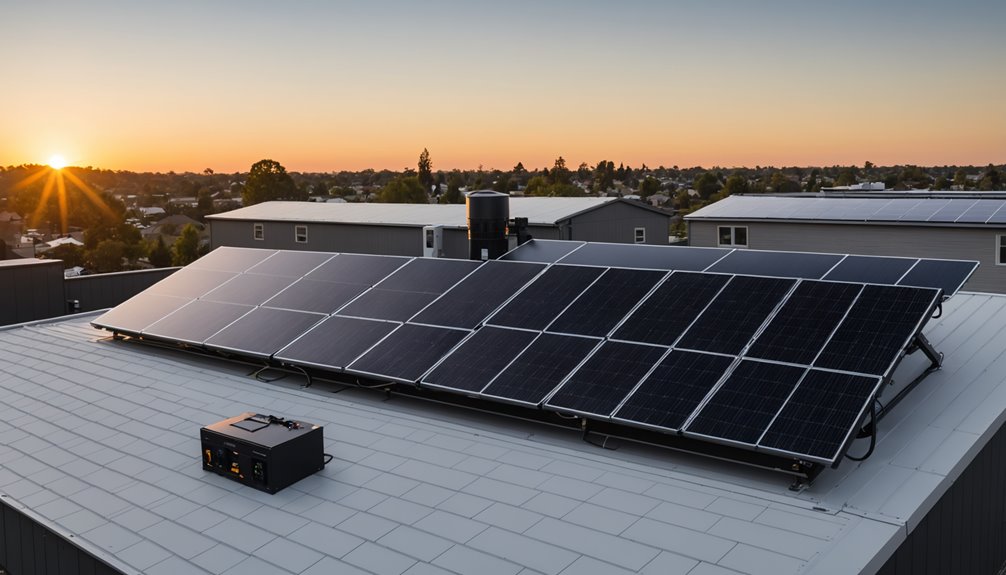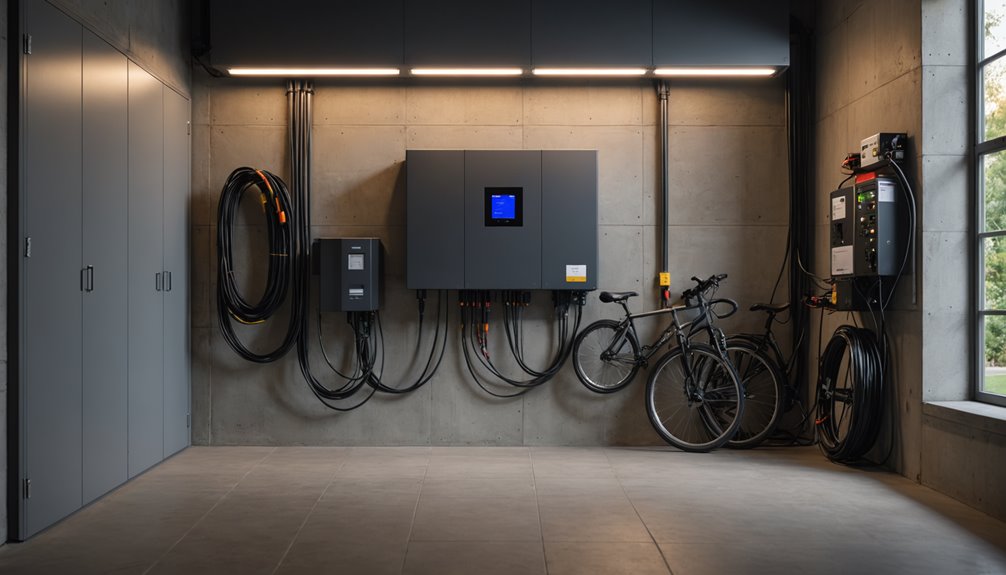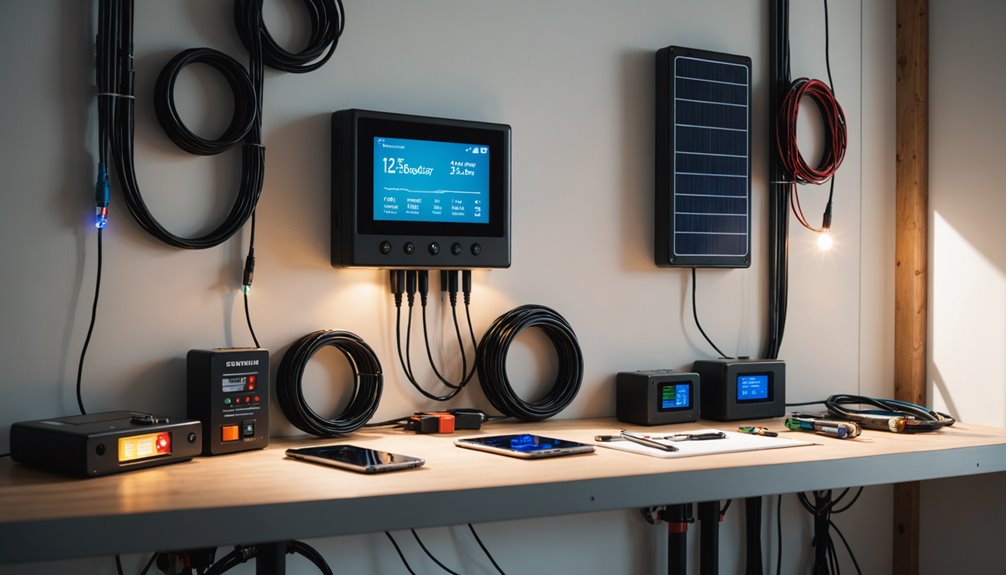

After a solar system is installed, several administrative and technical steps must be completed before the system can begin powering a home.
These steps typically include municipal inspections, utility company approvals, and the activation of net metering agreements where applicable.
The timeline for completing these requirements varies depending on local regulations and utility procedures, but homeowners should generally expect a period of days to weeks between installation and full system operation.
Understanding this process in advance allows homeowners to manage expectations and avoid delays caused by incomplete documentation or missed scheduling requirements.
Key Takeaways
- Following installation, your installer will arrange a demonstration covering inverter operation and submit a Permission to Operate (PTO) application to your utility company.
- Local authorities will conduct an inspection of the system within one to two weeks to verify code compliance, which is a required step before the system can be activated.
- Once PTO is granted by the utility company, a process that typically takes two to six weeks, the system will become operational within a few days.
- Routine maintenance includes cleaning solar panels twice per year and conducting periodic inspections of the inverter to ensure the system continues to operate at expected capacity.
- Net metering enables excess electricity generated by the system to be fed back into the grid, resulting in credits that are applied toward future utility bills, effectively reducing overall energy costs.
Your First 24 Hours After Solar Installation
After solar system installation, the installer typically schedules a demonstration covering inverter operation and monitoring application access. A Permission to Operate (PTO) application must then be submitted to the utility company, which may require an independent inspection or smart meter installation before the system can be activated. These steps are standard regulatory requirements that vary by utility provider and jurisdiction.
The installer is responsible for guiding the homeowner through any outstanding technical or administrative requirements before the system becomes operational. Once active, the monitoring application provides data on system output, which can be compared against projected performance figures. Any deviations from expected output should be documented and reported to the installer for technical assessment. Connecticut homeowners may also qualify for a 30% federal tax credit on the total cost of the installed system, which can significantly offset the overall investment.
How Long Before You Can Turn Your Solar System On?
The timeline for activating a solar system after installation is determined by two regulatory requirements. First, local authorities conduct an inspection to verify code compliance, which typically occurs within one to two weeks of installation. Second, and more time-consuming, is obtaining Permission to Operate (PTO) from the utility company. This approval process generally takes between two and six weeks. Once PTO is granted, the system can be activated within a matter of days. The installer is responsible for coordinating these steps and keeping the homeowner informed of progress throughout the process.
What to Expect During the City Inspection
Before a solar system can be activated, it must pass a city inspection, which is a required step in the approval process. A municipal inspector will evaluate the installation to confirm it meets local building code standards, reviewing the panel mounting, electrical wiring, and overall system design for safety and regulatory compliance. Homeowners should be present during the inspection to respond to questions and provide access to the property. Scheduling and completing the inspection typically takes one to two weeks. Once the inspection is passed, the inspector issues a signed record of approval, which the utility company requires as a condition for granting Permission to Operate (PTO) before the system can begin generating power.
How to Get Permission to Operate From Your Utility Company
After completing the city inspection and obtaining signed approval, the next step is securing Permission to Operate (PTO) from your utility company. This requires submitting an interconnection application along with documentation demonstrating that your solar system meets applicable compliance standards. The utility company will review the application and may dispatch a representative to conduct an on-site inspection, verifying that connections are properly configured and the system functions within required parameters. Upon satisfactory review, the utility company will issue PTO, a process that generally takes several days to complete. Once PTO is granted, the system is authorized to generate and supply solar energy. Coordinating with your solar installer throughout this process can help ensure that documentation is accurate and that each procedural step is addressed without delays.
How to Maintain Your Solar Panels After Installation
Maintaining solar panels requires consistent attention to several key areas to ensure optimal performance and longevity. Panels should be cleaned twice a year, or more frequently in dusty or high-pollen environments, to remove accumulated debris such as leaves, bird droppings, and dirt, all of which can reduce energy output.
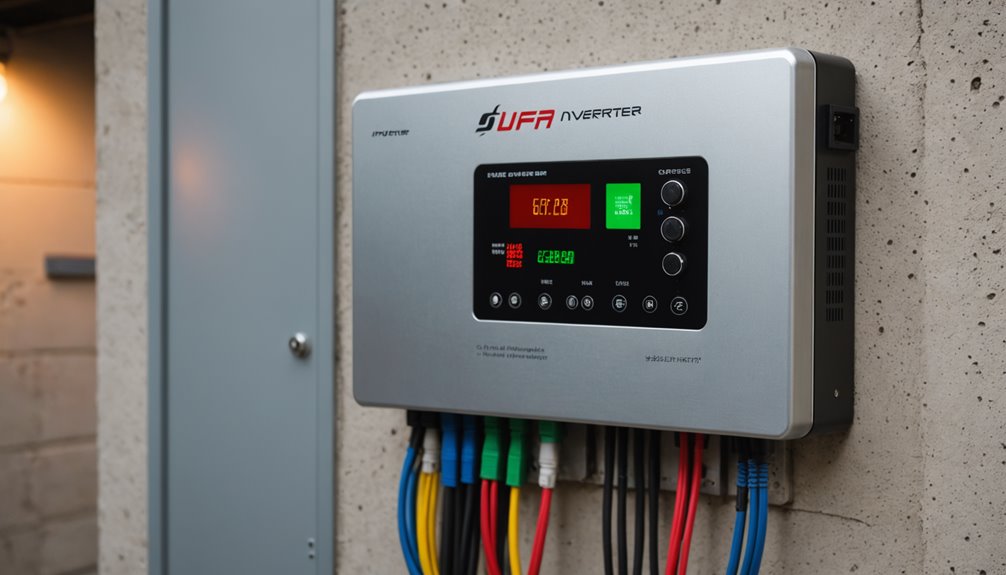
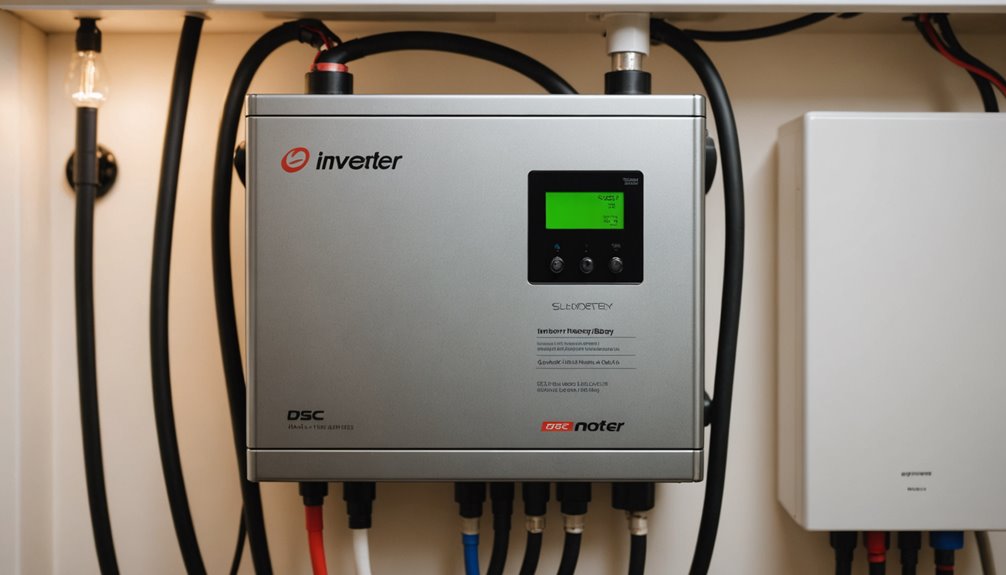
Regular inspection of the solar inverter is necessary, as it converts the direct current generated by the panels into usable alternating current. Any deviation from expected power output may indicate a technical issue requiring professional assessment.
Performance monitoring tools, typically provided through dedicated applications, allow system owners to track energy production data and identify irregularities over time. Setting threshold alerts within these applications enables timely detection of potential problems.
Documentation management is a practical aspect of solar panel ownership. Retaining installation records, warranties, and service logs ensures accurate reference points for maintenance decisions and supports warranty claims when applicable.
When performance concerns arise that fall outside routine maintenance, consulting a qualified local solar technician is advisable. Professionals can conduct more thorough diagnostics and address issues that visual inspections or monitoring data alone cannot resolve.
How to Use Your Solar Monitoring App
The solar monitoring app serves as a functional tool for tracking system performance and supporting routine maintenance. Setup typically occurs during or after installation, with the installer guiding the initial configuration. A Wi-Fi connection is required to link the app to the home network.
Once operational, the app provides real-time data on energy production, including the amount of power the system generates on a daily basis. Users should check the app periodically to review any alerts that may signal maintenance requirements or system irregularities. The app also stores historical performance data, which can be used to assess overall system efficiency and calculate financial returns over time. This data offers a measurable record of how the system is functioning relative to its expected output.
What to Do If Your Solar System Isn’t Working Properly
If a solar system is not performing as expected, the first step is to check the inverter display for error messages or fault codes. The inverter serves as the central processing unit of the system and typically provides diagnostic information when performance deviates from normal parameters. Verify that the monitoring application is active and review output data to confirm whether the system is generating electricity during daylight hours.
Recording any error codes, unusual readings, or performance irregularities is advisable, as this data assists technicians in identifying root causes more efficiently. Contact the installer or retailer to report the issue and obtain initial troubleshooting guidance. Many problems can be identified remotely through monitoring platforms before a physical inspection is necessary.
If the issue is not resolved through initial troubleshooting, arrange a professional on-site inspection. A qualified technician can assess individual components, including panels, wiring, and inverters, to determine whether failures are isolated or systemic. The inspection should also confirm that the system continues to meet relevant local electrical codes and safety standards.
Addressing performance issues promptly limits the risk of extended downtime and reduces the likelihood of secondary damage to system components. Delayed action on known faults can result in warranty complications and higher repair costs over time.
How to Read Your First Solar Energy Bill
Receiving your first solar energy bill may initially appear complex, but it follows a structured format that becomes easier to interpret with some basic knowledge. Utility providers typically display two key figures: your total energy consumption and the amount of electricity your solar system produced during the billing period. The difference between these figures determines what you owe or what credits you accumulate.
If your utility plan includes net metering, excess electricity generated by your solar system is fed back into the grid. This surplus is recorded as a credit on your bill, which offsets future charges when your consumption exceeds production, such as during winter months or periods of limited sunlight.
It is worth noting that most utility bills include fixed charges, such as grid connection or service fees, that remain constant regardless of your solar output. These charges will appear on your bill even when your system fully covers your electricity consumption.
Several standard billing terms are relevant to solar customers. “Net usage” refers to the difference between what you consumed from the grid and what your system contributed to it. “Total due” reflects any remaining balance after solar credits have been applied. Reviewing these figures each billing cycle allows you to assess whether your system is performing as expected and to accurately calculate your actual savings compared to pre-solar energy costs.
Conclusion
The process following solar installation involves several procedural steps before a system becomes fully operational. A city inspection is required to verify that the installation meets local building and electrical codes. Once the inspection is passed, the utility company reviews the system before issuing Permission to Operate (PTO), which authorizes the homeowner to begin drawing on solar-generated electricity.
Routine maintenance, including panel cleaning and periodic system checks, helps sustain optimal performance over time. Most solar systems come equipped with monitoring tools that allow owners to track energy output and identify any drop in performance. Consistent monitoring can help detect issues early, reducing the likelihood of extended efficiency losses.
When properly maintained, solar systems can generate measurable reductions in electricity costs over their operational lifespan, which typically ranges from 25 to 30 years. The extent of savings depends on factors such as local utility rates, system size, geographic location, and household energy consumption.